

Your Child Wants To Play Catcher …this simple test tells you if they are ready
/
Test Your Catcher’s Stance
Get them in their stance; ask them to rock side to side. They should be able to rock 4”- 6” each way, comfortably, while maintaining their balance. If your child fails this test, no need to worry. This article guides you in teaching your child a sound, workable stance; the foundation for performing all the actions of the catcher position.
Receiving, blocking, throwing, fielding; a catcher cannot execute these skills to the best of their ability without a good stance. Balance is the key. The major factor in a balanced stance is foot position.
Below is a list of five points. Work with these for a couple days, then let me know what problems you run into; I’ll reply with assistance. If you find a point or two that are especially helpful, reply and let other coaches and parents know.
Foot Position for a Fundamentally Sound Stance

Heels a couple inches outside of hips
Toes pointed slightly out (throwing hand foot may turn out a bit more)
Weight on the inside edge of the feet ...from toe to heel
Heels remain on the ground (this is the litmus test)
Legs relaxed, allowing butt to sit low near heel level
Drill
Squat Down; Stand Up - 10x, five seconds each
Each time when getting into the stance, adjust width of feet/heels and direction of toes
Test balance - rock side to side

While your catcher is in their stance, have them rest their forearms on their thighs/knees (wherever they are most comfortable) with their hands centered between their knees. Wearing a glove is not necessary.
The process for finding the correct foot position is trial and error. The catcher squats down, rocks side to side to test, stands up to give their legs a quick break, then repeats the process.
When the catcher has been down in their squat approximately 10-12 times, call it a day. Keep in mind, for kids who have little or no experience being in a catcher’s stance, this process will be a bit uncomfortable, physically. They may feel discomfort in their joint areas (hips, knees and/or ankles).
This is normal when learning any new physical action. Moreso, when learning how to fold the body into a new squatting position.
Plan another activity to go into after taking your catcher through this process. We want them to associate this activity with a pleasant experience. Working on the stance alone, on the first day or two, likely is not exciting or fun to a kid.
Most important is to work again the next day, and the next day, and the next day. After 3-4 of these 5-minute sessions your catcher will find a foot position that works for them. Soon their muscles and joints will adapt to these new physical stresses.
Stance in Relationship to the Batter
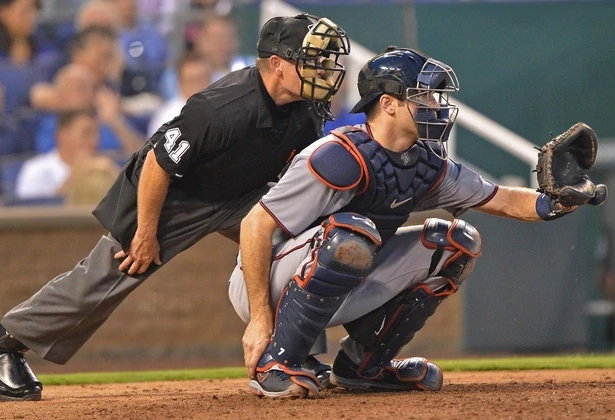
Looking ahead to scrimmages and games, we want to teach our catchers where to position themselves in relationship to a batter. Most youth catchers set up too far back. (picture)

The glove should be just about even with the batter’s back foot with the arm fully extended (picture). It is understandable that kids are apprehensive to set up this close to the batter. Getting hit by a swinging bat is not something a anyone wants to experience.
Solution: Put your catcher in their squat. Stand as a batter, so their relationship to your stance is correct. Make a few very slow swings, so you would make contact with the ball even with your front foot (that is where it generally occurs). Your catcher will see they are safe at that depth.
Benefits of a catcher positioned closer to the batter:
Reduces the distance the pitcher has to throw
Reduces the number of bounced pitches
Pitches reach the batter lower in the strike zone
Easier for the umpire to call strikes
Catcher is closer to the field of play, the bases and base runners; fielding and throwing is simplified